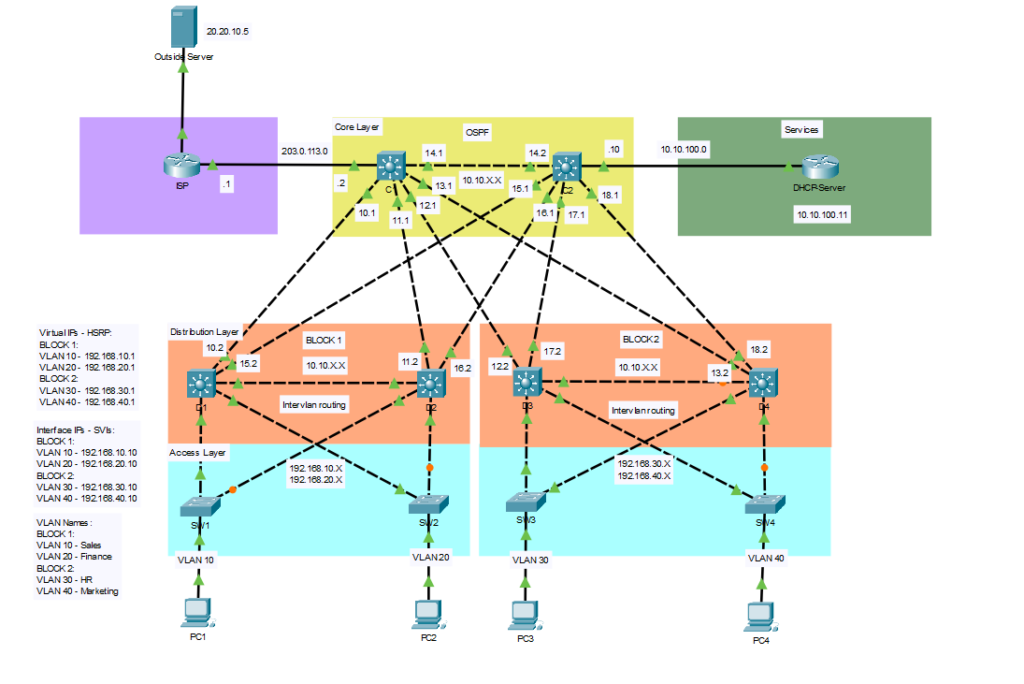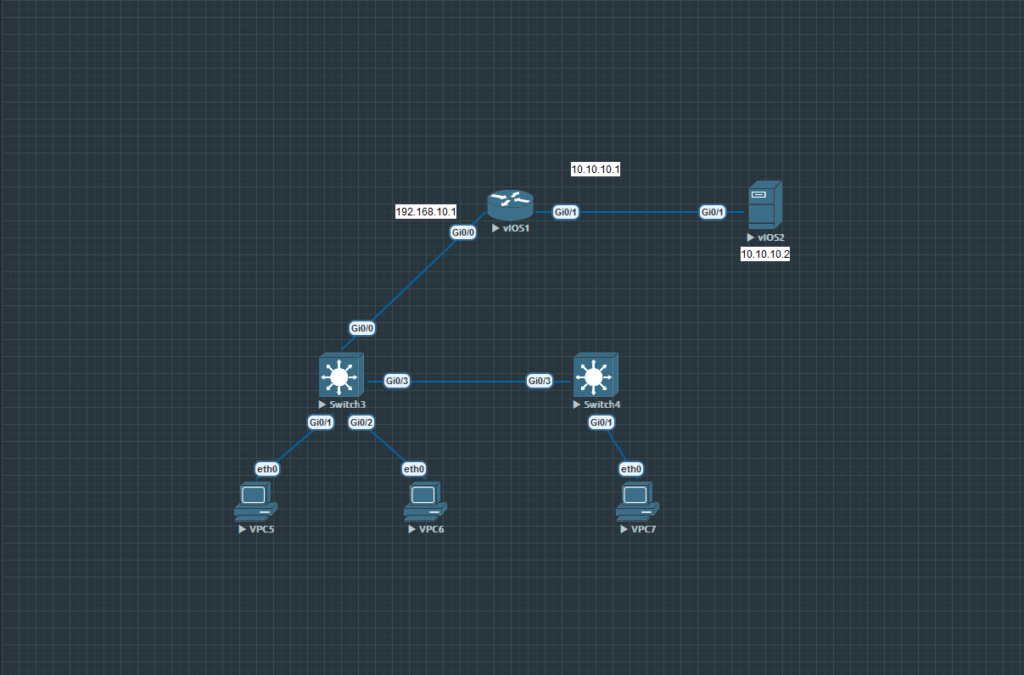
During my CCNA studies, I extensively used Packet Tracer, a tool that allowed me to bridge networking theory to practical, real-world scenarios, contributing to my achievement of the CCNA certificate. However, I found it limiting in terms of learning different vendors and technologies.
In my search for a network emulator, I decided to use EVE-NG. It allowed me to operate it as bare metal on a virtual machine hosted on my HP ProLiant Server. With EVE-NG, I can expand my skill set by actively experimenting with Firewalls, Servers, Networking Monitoring tools, and exploring various brands, including Juniper, Fortinet, Palo Alto, and others.

To acquire EVE-NG, I went to the official website. Clicking the download option, I scrolled down to find the latest version of the Free EVE Community Edition. I was presented with the choice between the EVE-NG OVF or ISO file, I downloaded the OVF file due to the fact that it’s slightly simpler to install and configure.


Once I had the EVE-NG OVF file downloaded, the next task was to create a virtual machine for its operation. I clicked on the Create/Register VM button and chose the ‘Deploy a virtual machine from an OVF or OVA file’ option.

I label my virtual machine as EVE-NG and import my OVF and VMDK files by simply dragging and dropping them into the designated box.

I proceed by choosing the storage disks for the VM and then proceed to the next step.

Within the Deployment Options section, I select Thick Disk Provisioning for its efficiency and reliability. Thick provisioning provides the VM with the full memory allocation, in contrast to Thin provisioning, which provides on demand storage. Thin and Thick provisioning both have their pros and cons however Thick is the optimal choice for my EVE-NG VM. I pressed next and then Finish to allow my EVE-NG to set itself up.

EVE-NG files were currently in the process of uploading to my ESXi server, the duration for the upload was around 5-10 minutes.


I powered up EVE-NG and waited for the login screen to appear. After a brief moment, I logged in using the default user and password, with ‘root’ as the username and ‘eve’ as the password.
EVE-NG also displays its URL which I copy pasted into my web browser.

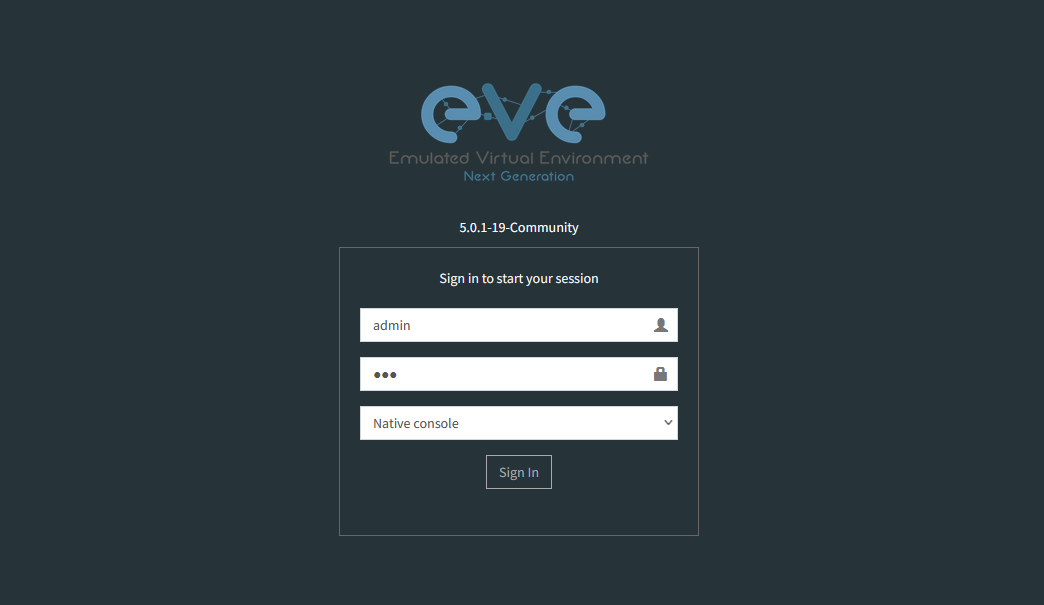
When I entered the URL in my browser, it directed me to the EVE-NG login screen where ‘Admin’ was pre-filled in the username field, and the password was ‘eve’. I then pressed Sign In.

EVE-NG is all set up and running. It’s time to dive into exploring network simulations and putting things to the test.